Overview
This guide provides detailed step-by-step instructions for using each application in the Tone Matching Suite. For a quick introduction, see the Getting Started Guide.
Workflow Summary
- Prepare Data: Use Bundler App to create a .tncmp bundle
- Classify Tones: Use Mobile or Desktop Matching App to group words
- Compare Results: Use Comparison App to analyze multiple speakers
1. Tone Matching Bundler
Purpose: Prepare data bundles from your Dekereke database
User: Researcher
Input: Dekereke XML file + WAV audio files
Output: .tncmp bundle file
Step-by-Step Instructions
Step 1: Launch the Application
- Download and install from the Downloads page
- Open "Tone Matching Bundler" from your Applications folder or Start Menu
- The main window will appear with several sections
Step 2: Select Your XML File
- Click the "Browse" button next to "XML File"
- Navigate to your Dekereke export file (should end in .xml)
- Select the file and click "Open"
- The app will parse the file and show:
- Number of records found
- Available fields (columns) in your data
Expected XML Structure
Your XML should have:
- Root element:
<phon_data> - Child elements:
<data_form>(one per word) - Inside each data_form: fields like
<Phonetic>,<Gloss>,<SoundFile>, etc.
Step 3: Configure Display Settings
- In the "Display Settings" section, choose which fields to show to speakers:
- Check boxes next to fields you want displayed (e.g., "Phonetic", "Orthographic")
- These will appear as the "written form" when speakers are matching
- Decide if you want to show written forms at all:
- Check "Show written forms" for speakers who can read
- Uncheck for audio-only mode (speakers only hear words)
Step 4: Configure Audio Settings
- Click "Browse" next to "Audio Folder"
- Select the folder containing your WAV audio files
- Audio Suffix (Optional):
- If your audio files have additional text in the name, enter it here
- Example: XML says "word.wav", but files are "word-phon.wav" → enter "-phon"
- Leave blank if file names match exactly
- Audio Processing (Optional):
- Check "Enable audio processing" to trim silence and convert to FLAC
- This reduces bundle size by 50-70%
- Adds processing time but recommended for mobile distribution
Step 5: Filter Records (Optional)
- In the "Reference Numbers" text box, enter specific record IDs (one per line)
- Only these records will be included in the bundle
- Leave blank to include all records
- Use this to:
- Work with specific grammatical categories
- Limit to certain syllable patterns
- Create focused bundles for training
Step 6: Configure User Input Settings
- "Require user to type spelling":
- Check this if you want speakers to enter their own orthography
- Uncheck if spelling is not needed
- "User spelling element":
- Enter the XML element name where user spelling should be stored
- Example: "UserSpelling" or "NativeSpeakerOrthography"
- "Tone group element":
- Enter the XML element name where tone group assignments should be stored
- Example: "ToneGroup" or "ToneMelody"
Step 7: Create the Bundle
- Click "Browse" next to "Output Bundle File"
- Choose a location and filename (e.g., "cvcv_nouns_bundle.tncmp")
- Click "Create Bundle"
- Wait for processing:
- Progress bar will show status
- With audio processing: may take several minutes
- Without audio processing: usually under 1 minute
- Review the results:
- Any missing audio files will be reported
- Success message will confirm bundle creation

Tips for Bundler App
- Test with small bundles first: Start with 20-30 words to test your configuration
- Organize by pattern: Create separate bundles for different syllable patterns or categories
- Name meaningfully: Use descriptive names like "cvcv_nouns_speaker1.tncmp"
- Keep originals: Don't delete your original XML and audio files
2. Tone Matching Desktop
Purpose: Classify words by tone melody
User: Native speaker or researcher
Input: .tncmp bundle file
Output: Results zip file with tone group assignments
Step-by-Step Instructions
Step 1: Load a Bundle
- Launch "Tone Matching Desktop"
- Click "Open Bundle"
- Select your .tncmp file
- Wait for loading (usually a few seconds)
- The bundle information will appear
Step 2: Start Tone Matching
- Click "Start Tone Matching"
- The first word will be displayed
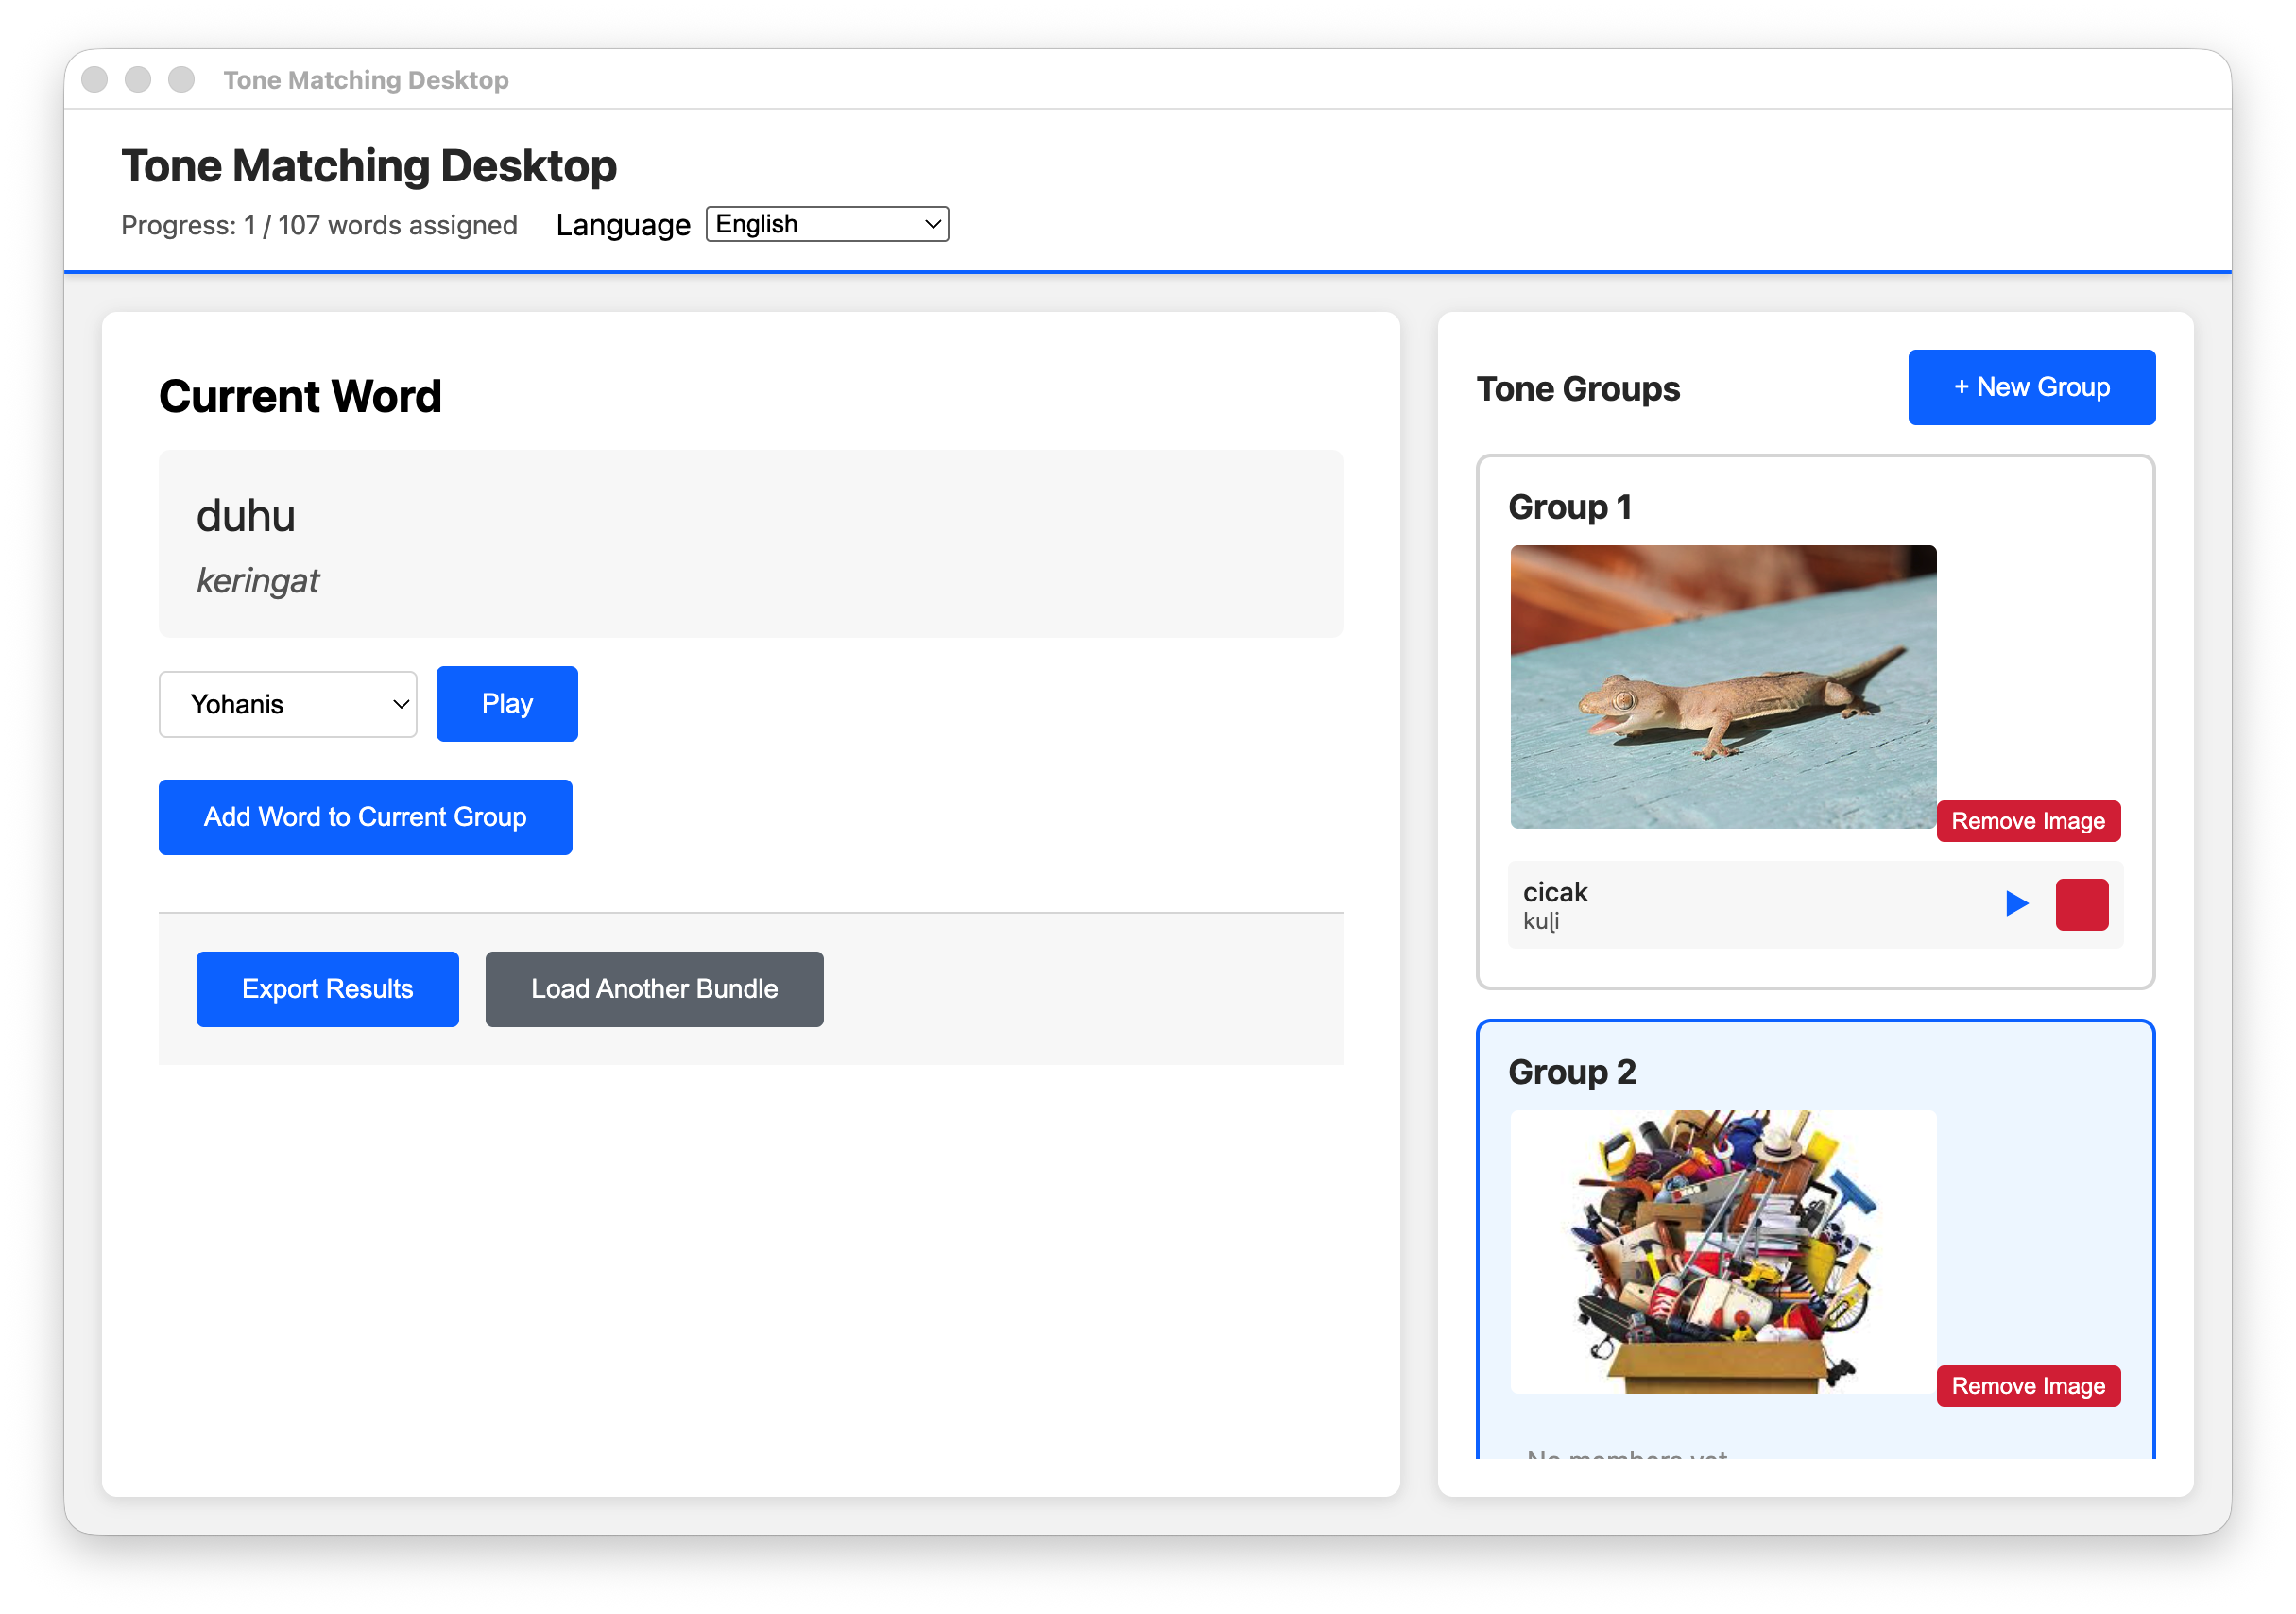
Step 3: Create Your First Tone Group
- Listen: Click the play button to hear the word
- Draw: On paper, draw a simple picture representing the tone melody
- Upload: Click the camera/upload button to select your drawing image
- Type (if required): Enter your spelling of the word
- Confirm: The first tone group is created!
Step 4: Classify Remaining Words
For each subsequent word:
- Listen to current word:
- Click play button (▶️) next to current word
- Listen as many times as needed
- Review existing tone groups:
- Scroll through tone group cards
- Each shows: group number, your drawing, member words
- Click play on member words to compare
- Make a decision:
- Matches existing group: Click that tone group card
- Doesn't match any: Click "Create New Group" at bottom
- Draw a new picture
- Upload the image
- Type spelling if required
- Automatic advance: App moves to next word
Step 5: Review (Optional)
- Click "Review" button (if available)
- Look through each tone group
- Play all words in a group to verify consistency
- Adjust if needed (current version has limited reorganization)
Step 6: Export Results
- When all words are classified, click "Export" or download icon
- Choose a save location
- A zip file will be created containing:
- Updated XML with tone group assignments
- CSV summary of classifications
- Metadata about the session
Tips for Tone Matching
- Don't rush: Take time to listen and compare carefully
- Replay often: It's normal to listen 3-5 times before deciding
- Trust your ears: If it sounds the same, it probably is
- When in doubt, create new: It's easier to merge groups later than split them
- Take breaks: Every 30-60 minutes, rest your ears
- Save periodically: Some versions auto-save, but manual saves are good practice
3. Tone Matching Mobile
Purpose: Classify words by tone melody on Android devices
User: Native speaker
Input: .tncmp bundle file
Output: Results zip file
The workflow is very similar to the Desktop app, with these mobile-specific considerations:
Additional Mobile Steps
Installation
- Enable "Install from Unknown Sources" in Settings → Security
- Download the APK file
- Open the APK file to install
- Grant camera and storage permissions
Loading Bundles
- Transfer .tncmp file to device via:
- USB connection
- Cloud storage (Dropbox, Google Drive)
- File sharing apps
- Email attachment
- Remember the location (Downloads folder, etc.)
- In app, tap "Load Bundle" and navigate to file
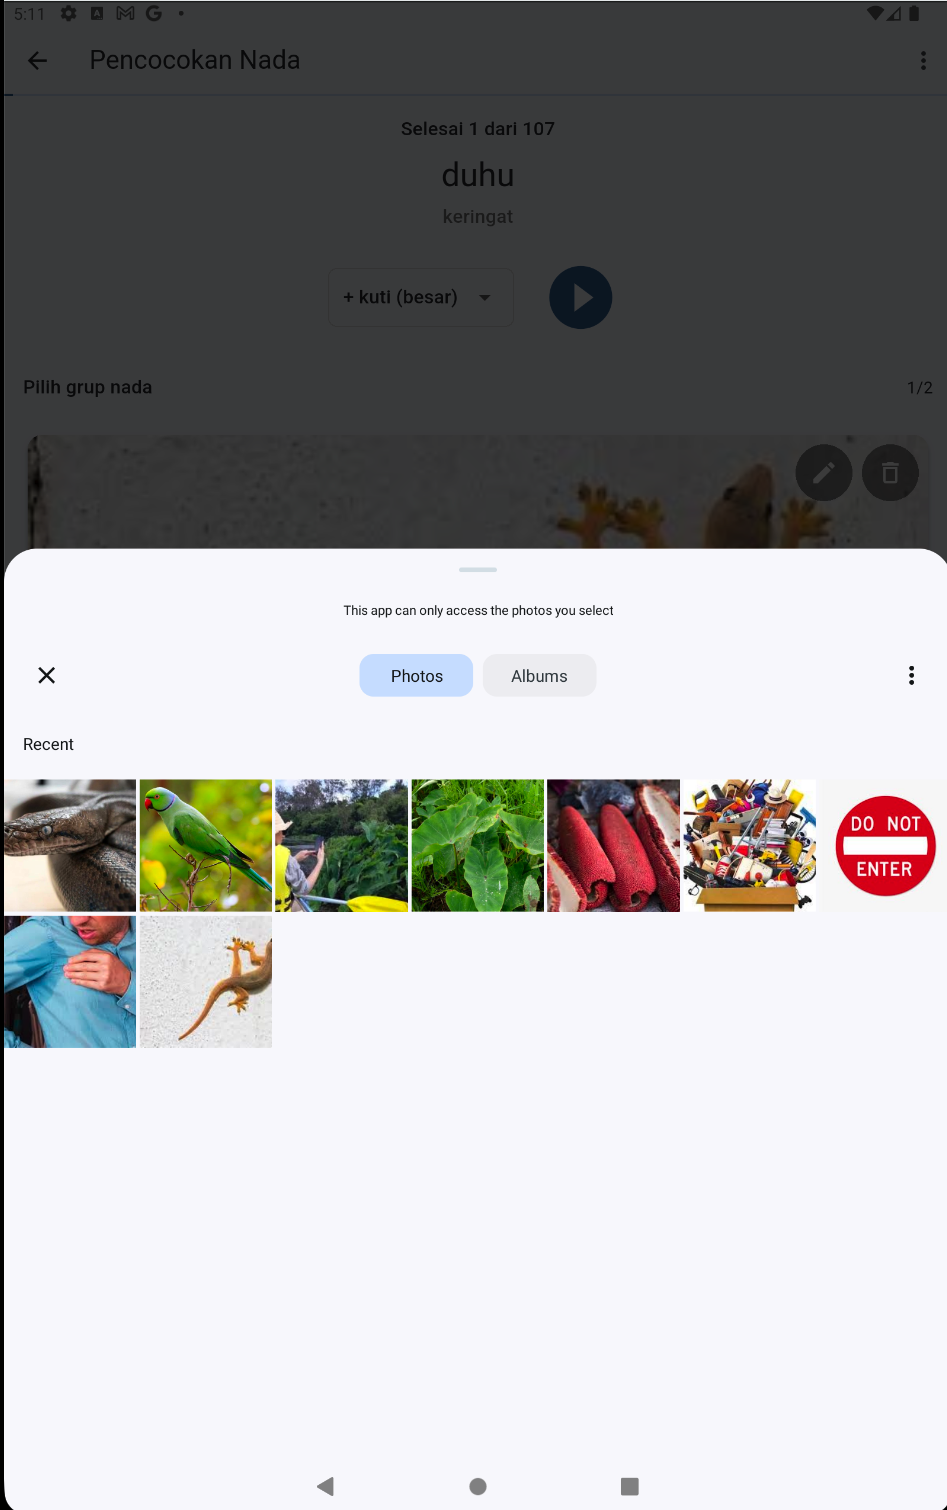
Taking Photos of Drawings
- When creating a tone group, tap camera icon
- Grant camera permission if prompted
- Draw your tone pattern on paper
- Hold phone steady and take photo
- Make sure the drawing is clear and well-lit
Exporting Results
- Tap export/download icon when finished
- Results saved to device storage
- Transfer back to researcher via:
- USB connection
- Cloud upload
- File sharing
4. Tone Matching Comparison
Purpose: Compare tone classifications from multiple speakers
User: Researcher
Input: Multiple result zip files (from different speakers)
Output: Comparison analysis
Step-by-Step Instructions
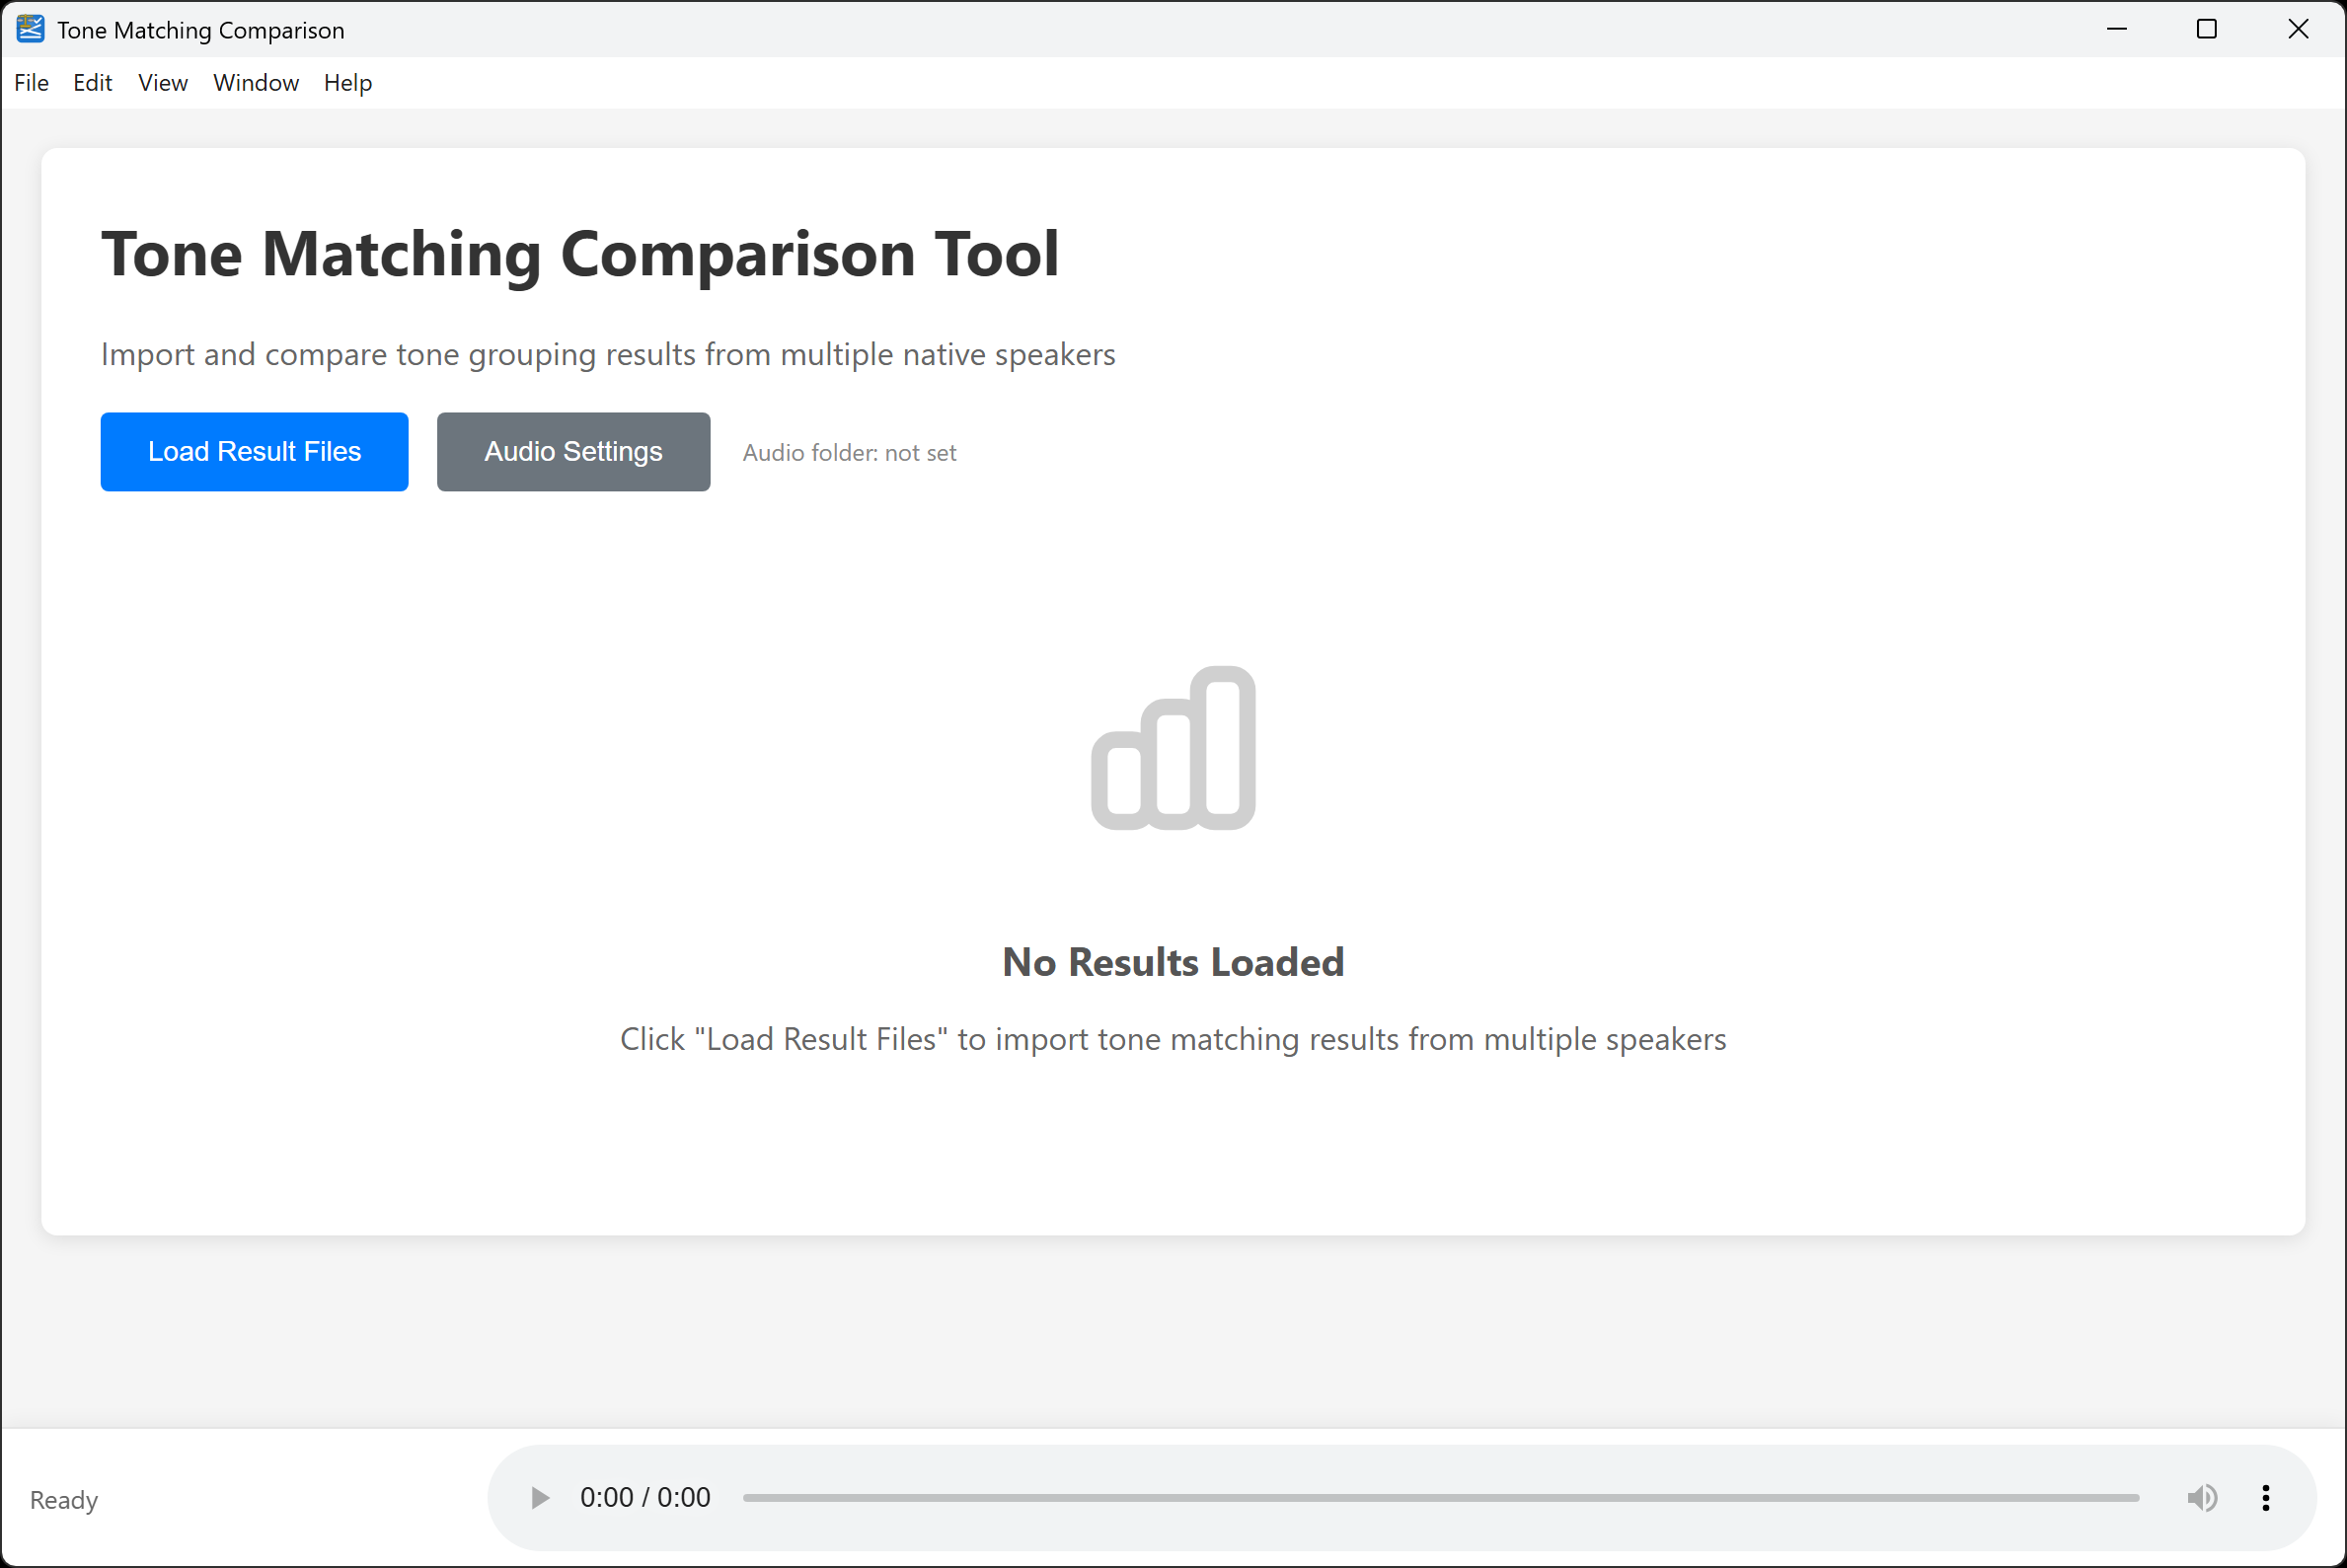
Step 1: Launch and Load Results
- Open "Tone Matching Comparison"
- Click "Load Result Files"
- Select 2 or more result zip files (use Ctrl/Cmd+Click for multiple)
- Click "Open"
- Wait for analysis (usually a few seconds)
Step 2: Review Overall Statistics
The app displays:
- Total words: Number of words analyzed
- Full agreement: Words where all speakers agreed
- Disagreements: Words where speakers differed
- Agreement percentage: Overall consensus level
Step 3: Examine Disagreements
- Scroll to "Disagreements" section
- Table shows:
- Word identifier (reference number or gloss)
- Tone group assigned by each speaker
- Whether disagreement is significant
- For each disagreement, consider:
- Do speakers need more instruction?
- Is this dialectal variation?
- Should this tone group be subdivided?
- Does the word have contextual variation?
Step 4: Review Merged Groups
- Scroll to "Merged Groups" section
- Shows groups with >80% word overlap but different exemplars
- Example:
- Speaker 1: Group 3, exemplar "mountain"
- Speaker 2: Group 7, exemplar "river"
- 95% of words match
- Decision: Which exemplar to use for final classification?
Step 5: Export Comparison Report
- Click "Export Report" (if available)
- Save as CSV or text file
- Use for documentation and further analysis
Interpreting Results
Agreement Levels
- >90% agreement: Excellent - strong validation of tone groups
- 70-90% agreement: Good - investigate disagreements for insights
- 50-70% agreement: Moderate - may need clearer instructions or more training
- <50% agreement: Low - consider redesigning approach or working with more homogeneous data sets
Common Patterns
- High agreement overall with a few outliers: Normal - investigate the outliers specifically
- Consistent disagreement on certain words: May indicate phonological conditioning or free variation
- One speaker differs from all others: May need additional training or clarification
Complete Workflow Example
Case Study: Analyzing CVCV Nouns
Background: Field linguist working with a tone language, wants to determine which tone melodies need to be marked in orthography.
Phase 1: Preparation (1 hour)
- Export CVCV nouns from Dekereke (83 words)
- Verify all audio files present
- Use Bundler to create bundle with audio processing
- Test bundle by loading in Desktop app
- Transfer to 3 speakers' Android devices
Phase 2: Classification (3 sessions, 1 hour each)
- Each speaker works independently
- Classifies all 83 words into tone groups
- Returns result file to researcher
Phase 3: Analysis (30 minutes)
- Load all 3 result files into Comparison app
- Find 92% agreement
- Identify 7 disagreement words
- Find 2 merged groups (same melody, different exemplars)
Phase 4: Follow-up (1 hour)
- Meet with speakers to discuss disagreements
- Resolve 5 through clarification
- Discover 2 represent free variation
- Choose exemplars for merged groups
Result:
- Identified 4 distinct tone melodies on CVCV nouns
- High speaker agreement validates findings
- Ready to update Dekereke database
- Informed orthography decision: mark 2 of 4 tones
Next Steps
After completing your tone matching workflow:
- Update your Dekereke database with tone group assignments
- Use results for phonological analysis and orthography decisions
- Create additional bundles for other grammatical categories or syllable patterns
- Consider multi-dialect comparison using the same process
For more information, see:
- Getting Started Guide - Quick introduction
- FAQ - Common questions and troubleshooting
- GitHub Repository - Technical documentation